How often have you used a magnifying glass? If you answer, ‘not often’ it is time to get one out! Magnifying glasses are a lot of fun because they make things larger. But have you ever wondered how a magnifying glass works? In this post we will take a look at this simple microscope and the fascinating world of the convex shape!
Lab Supplies
- A magnifying glass (I am sure you are not surprised!)
- Paper towels or towels for clean up
- Water
- Wax paper
- A pipette or dropper
- Saran Wrap
- Book that will lay open unaided
- Small drinking glass
- Paper clip
- Corn Oil
Optional Inversion Lab Supplies
- Magnifying glass
- Sheet of white paper
- Sunny day
- Window view
The Fascinating World of the Convex Shape
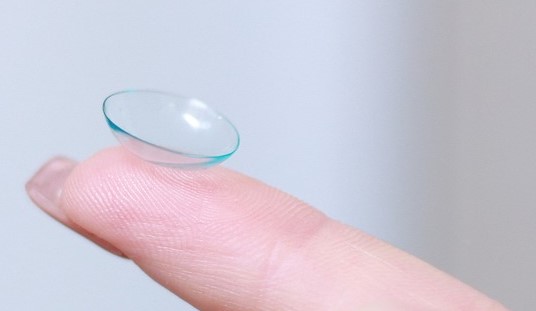
Hold your magnifying glass in one hand and and run your fingers over the glass. Do you notice a curve, or contour? The scientific term for this curvature is called a convex lens. The shape is important because the glass is thicker in the middle than it is on the sides. When light enters the magnifying glass, the shape ‘bends’ the rays, also known as refraction. There are many types of glass shapes, but for the purpose of our labs, we are specifically looking at the convex lens. Check this out:

When light passes through the sheet glass the is no curvature to ‘bend’ the light. However, when light enters a convex lens, the light bends inside the glass and points back to one focal point. Notice that as the light rays pass through the thinner edges of the glass they must bend more than those in the center.
What happens when the bent light enters the lens of the eye?

The lens of the eyeball is also a convex shape, and when the light passes through this lens, it bends the light again, which creates another focal point, and an upside down image on the retina. Thankfully, when the light hits the retina, it sends electrical impulses through the optic nerve to the brain which then changes the upside down image to a right side up. Could you imagine what we would go through if this didn’t happen?!!?
BTW
Reverse Image Magnifying Glass Lab #1
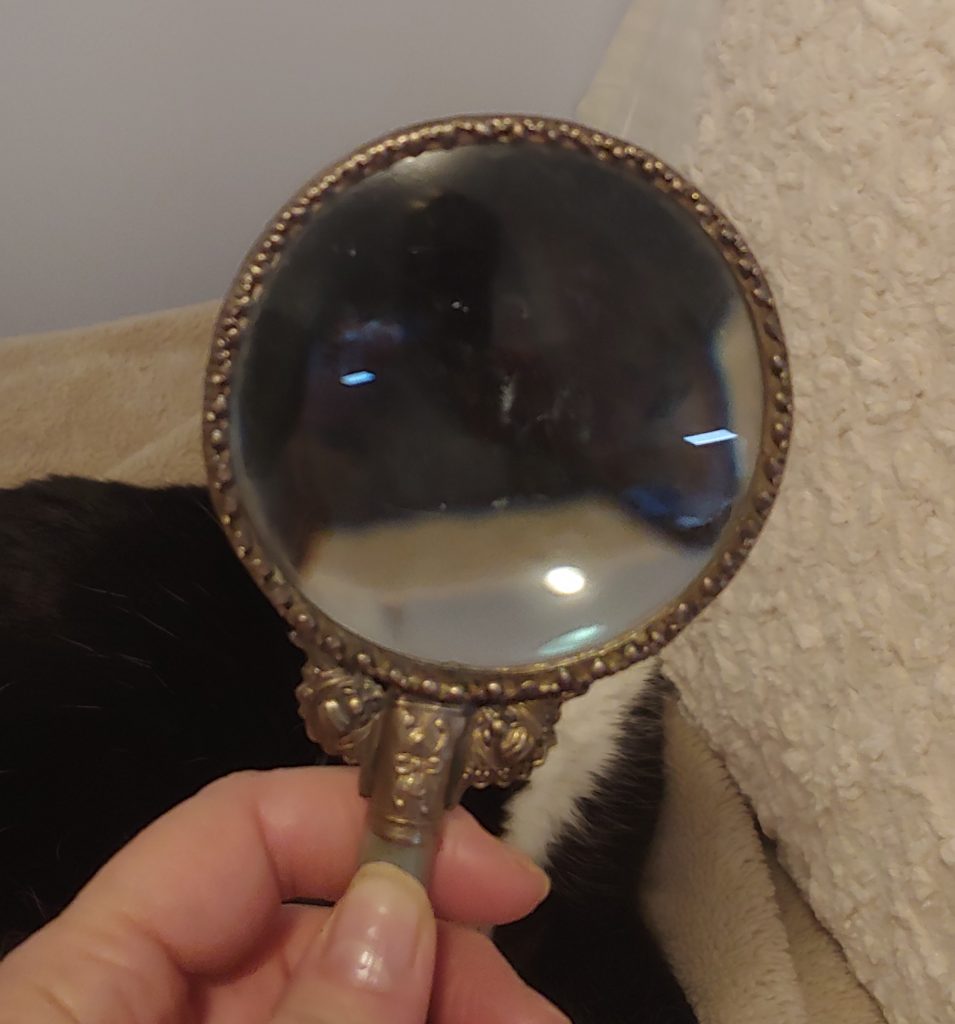
Take your magnifying glass and hold it out in front of you. Stretch your arm all the way and look at an image that is just beyond the glass. What do you see?
When you use a magnifying glass, the focus is typically a few inches from the lens. When the light is focused beyond the focal point the image flips upside down. Magnifying glasses have varying strengths of magnification, so you might need to play around with the image in front of your arm.
Look, my cat is upside down!
She was a brat today, so I think I might leave her that way!
An Optional Inversion Lab
There is another way to make a reverse image. A white piece of paper and a sunny day is required, so this is a bit more difficult if you live in the north like I do. Therefore, I call this an optional lab! I can’t show you a photo because I can’t remember the last time I saw the sun. I’m sure it was last week, but it seems like forever!
On a sunny day, chose an object outside your window. It could be a tree, the house across the street or a bird feeder. Then darken the room, except the window where you chose your object. Stand off to the side so your shadow doesn’t get between you and the window. The hand closest to the window will hold a magnifying glass and the other hand will hold the paper. Move the magnifying glass around until you see the image on the paper. What did you notice?
Send me a photo of your picture, title the subject header “My Magnifying Glass Image” and I will post it below!
Convex Lab #2
Have you ever observed a drop of water sitting on the counter? Take a piece of wax paper and your pipette and place ‘one’ drop on the sheet. One drop, the size of a pea – not the size of Lake Michigan!
Using your convex-lensed magnifying glass, check out that droplet of water. What shape does it have? Why does it stay rounded and not spread out? The shape of the water droplet is convex, so let’s see if it magnifies!
**Set this water droplet aside where you can’t bump it. You will need it later!

Convex Lab #3
For this lab, take a small square of Saran Wrap and place it on top of a page in your text book. Make sure the plastic is flat and wrinkle free, then pick out a nice looking word. Center the Saran Wrap over the chosen word and place ‘one’ droplet of water on top of the letters. Stand up, look directly downwards into the droplet, and make your observations about the letters.
**For you puddle lovers, the droplet goes on top of the Saran and not directly on the page!
You should have found that the curve of the water droplet magnified the word underneath. How cool is that? With one droplet of water you, have made a simple microscope, that refracted the light, and caused magnification!
On a rainy day, and with parent permission, go out and check out the droplets that sit on leaves, the playground equipment, and other items in nature. Droplets are pretty cool! But, it kind of makes you wonder why a droplet doesn’t just fall apart.
How do water droplets keep their convex shape?
Water molecules play a big role in keeping the convex shape of a water droplet. Atoms are the building blocks to all things on earth. When two or more atoms link together, they create a molecule.
Molecules are like kids on a playground. They form friends and sometimes they separate from other groups. Water molecules like each other, which means they hang out and stick together. All those friendly molecules form a skin of surface tension on the outside surface of the little globe of water.

Surface Tension Convex, Lab #4
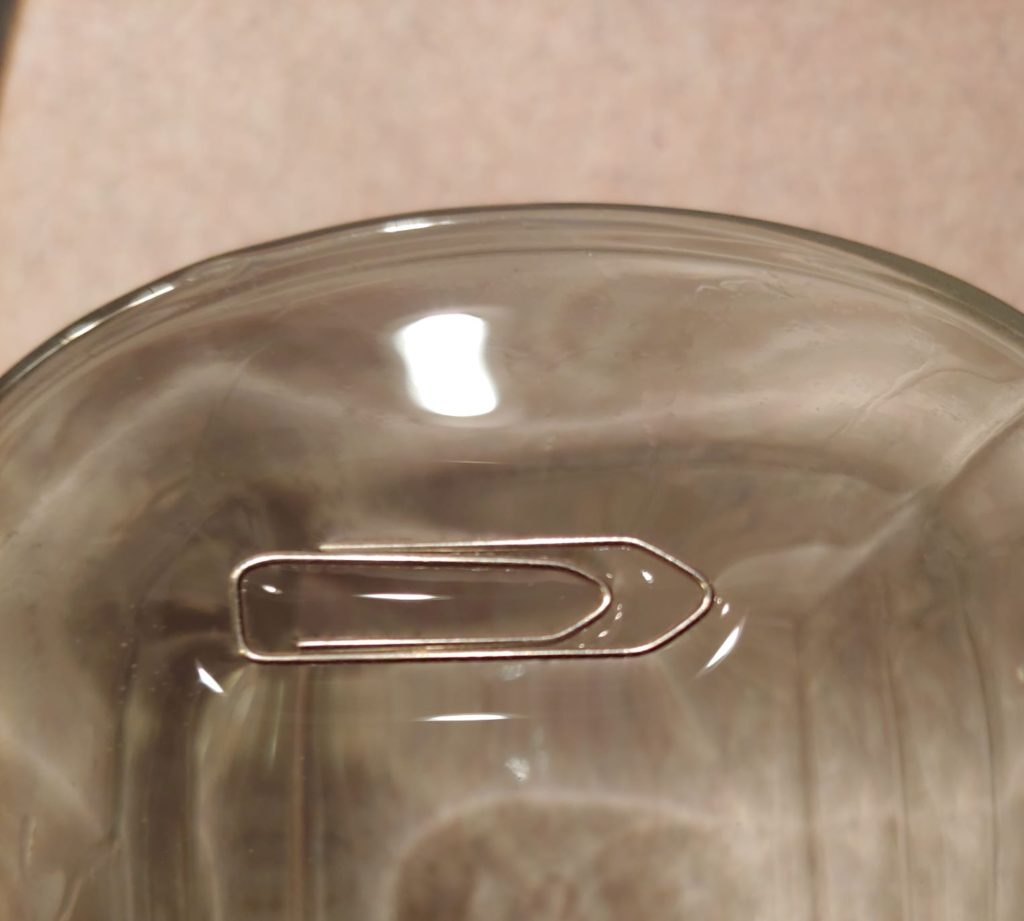
You can see surface tension better by filling up a glass of water all the way to the top. Put in as much water as possible without allowing the water to flow down the sides. Kneel down so your eyes are even with the top of the glass, and check out the top of the water. Can you see how it rounds up (convex) over the rim of the glass? This is called surface tension. It is a thin skin of water that holds its shape because of the water molecules that stick together. If you are really, (really) careful you can float a paperclip or needle on top of the surface tension. The idea is to carefully place it on the edge of the glass and slide it onto the surface skin without piercing the surface tension. If you pierce the skin the paperclip will float gently to the bottom of the glass. But if you are careful, it will float on top – just like the insect in the above photo.
Some molecules do not play nice. Lab #5
We can also prove that there are some molecules that just don’t get along. Dump out about half the water in the glass and add a little oil to the water. The oil and water will act like 1st and 5th graders on the playground! Discuss your findings.
Create your own personal science lab by asking your own questions. I’ll go first:
Does a drop of oil create a convex shape?
What other questions or ‘what if’ questions can you think of?
Summary
So within this lesson you have learned ‘why’ a magnifying glass works, how to create a magnifying glass in nature, why water droplets form a convex shape, and the importance of molecules! Oh wait…
One last lab! Multiple Convex Lab #6
You know the one droplet you were keeping for later? Clean your lab area but leave the wax paper with the water droplet.
Stand up and look down at it.
Now
SMASH IT!
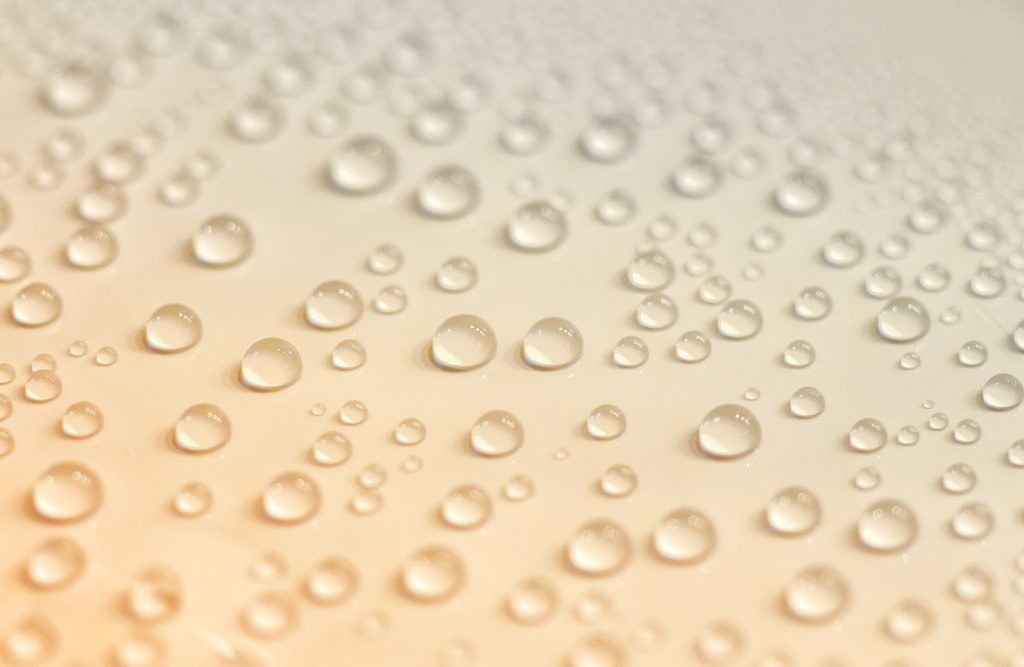
Congratulations! You broke apart the water molecules to make a lot of little molecule droplets – though you probably won’t be able to find some of ’em!
Check out these cool science labs!
If you liked the Fascinating World of Convex Shapes, you will have fun with these science labs:
